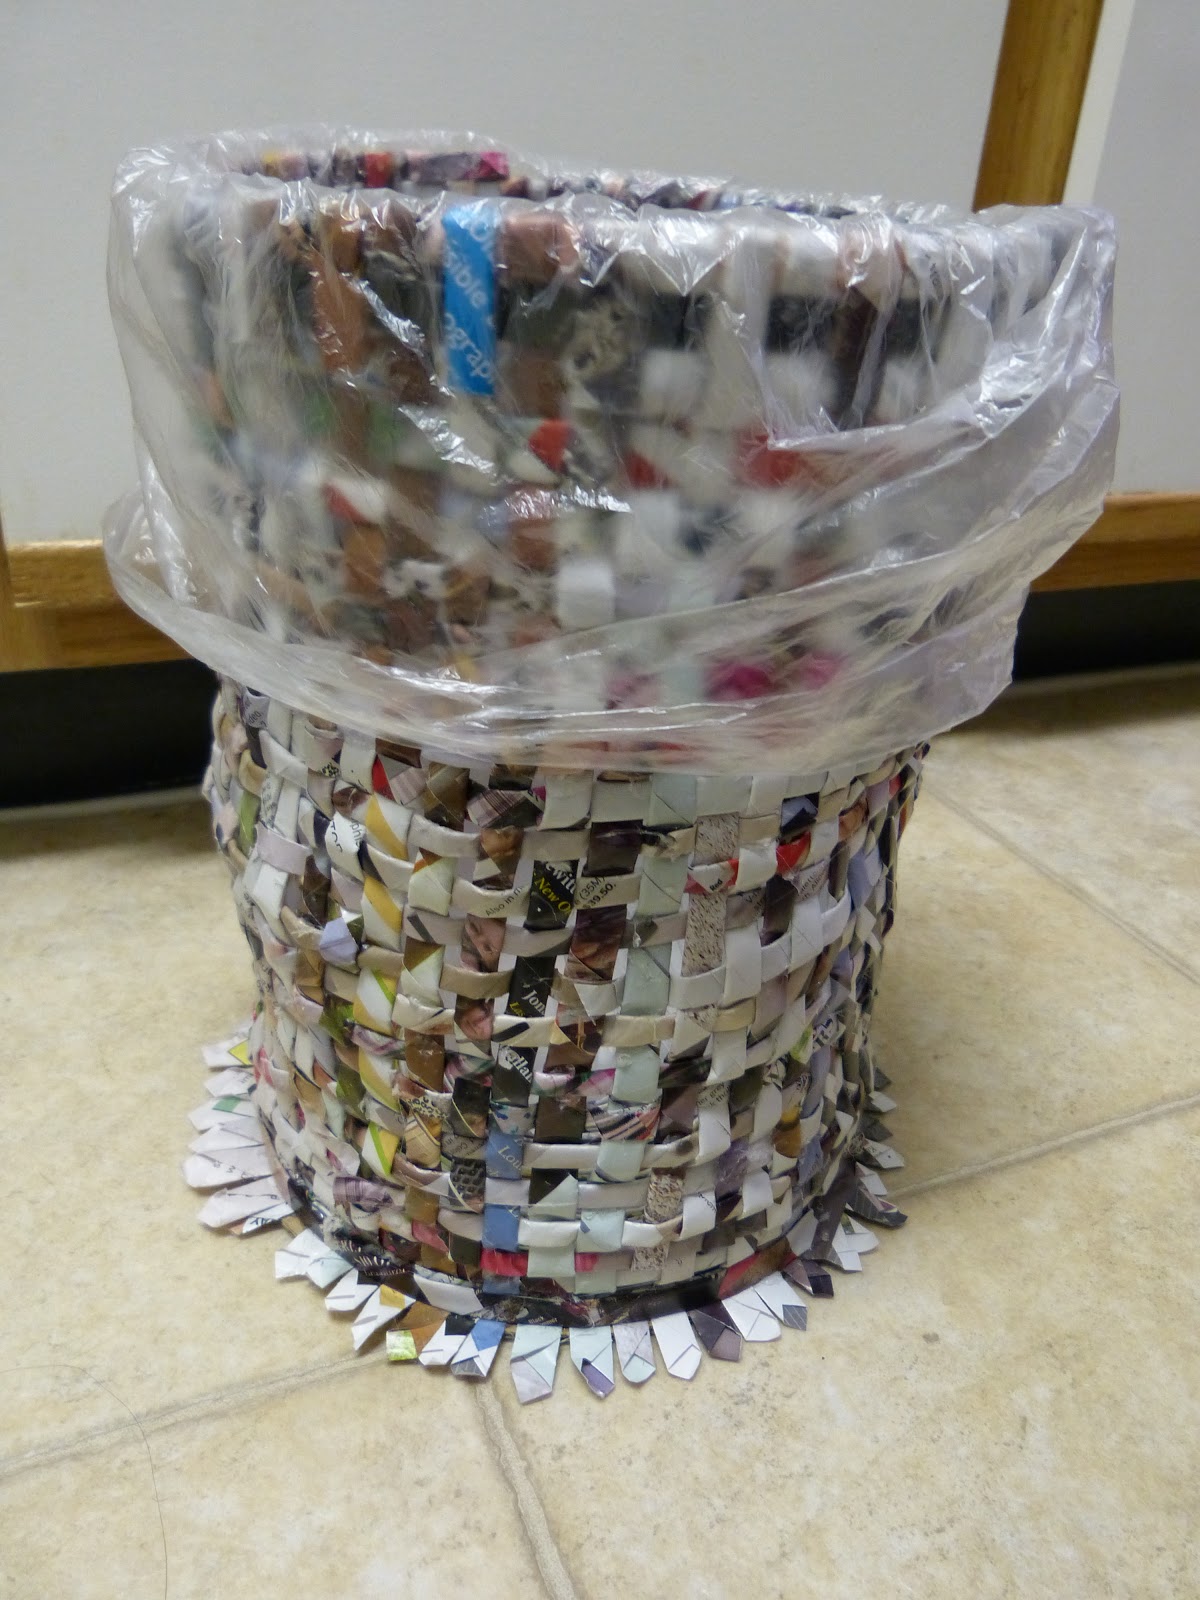
Basket out of magazine papers
Step 1:
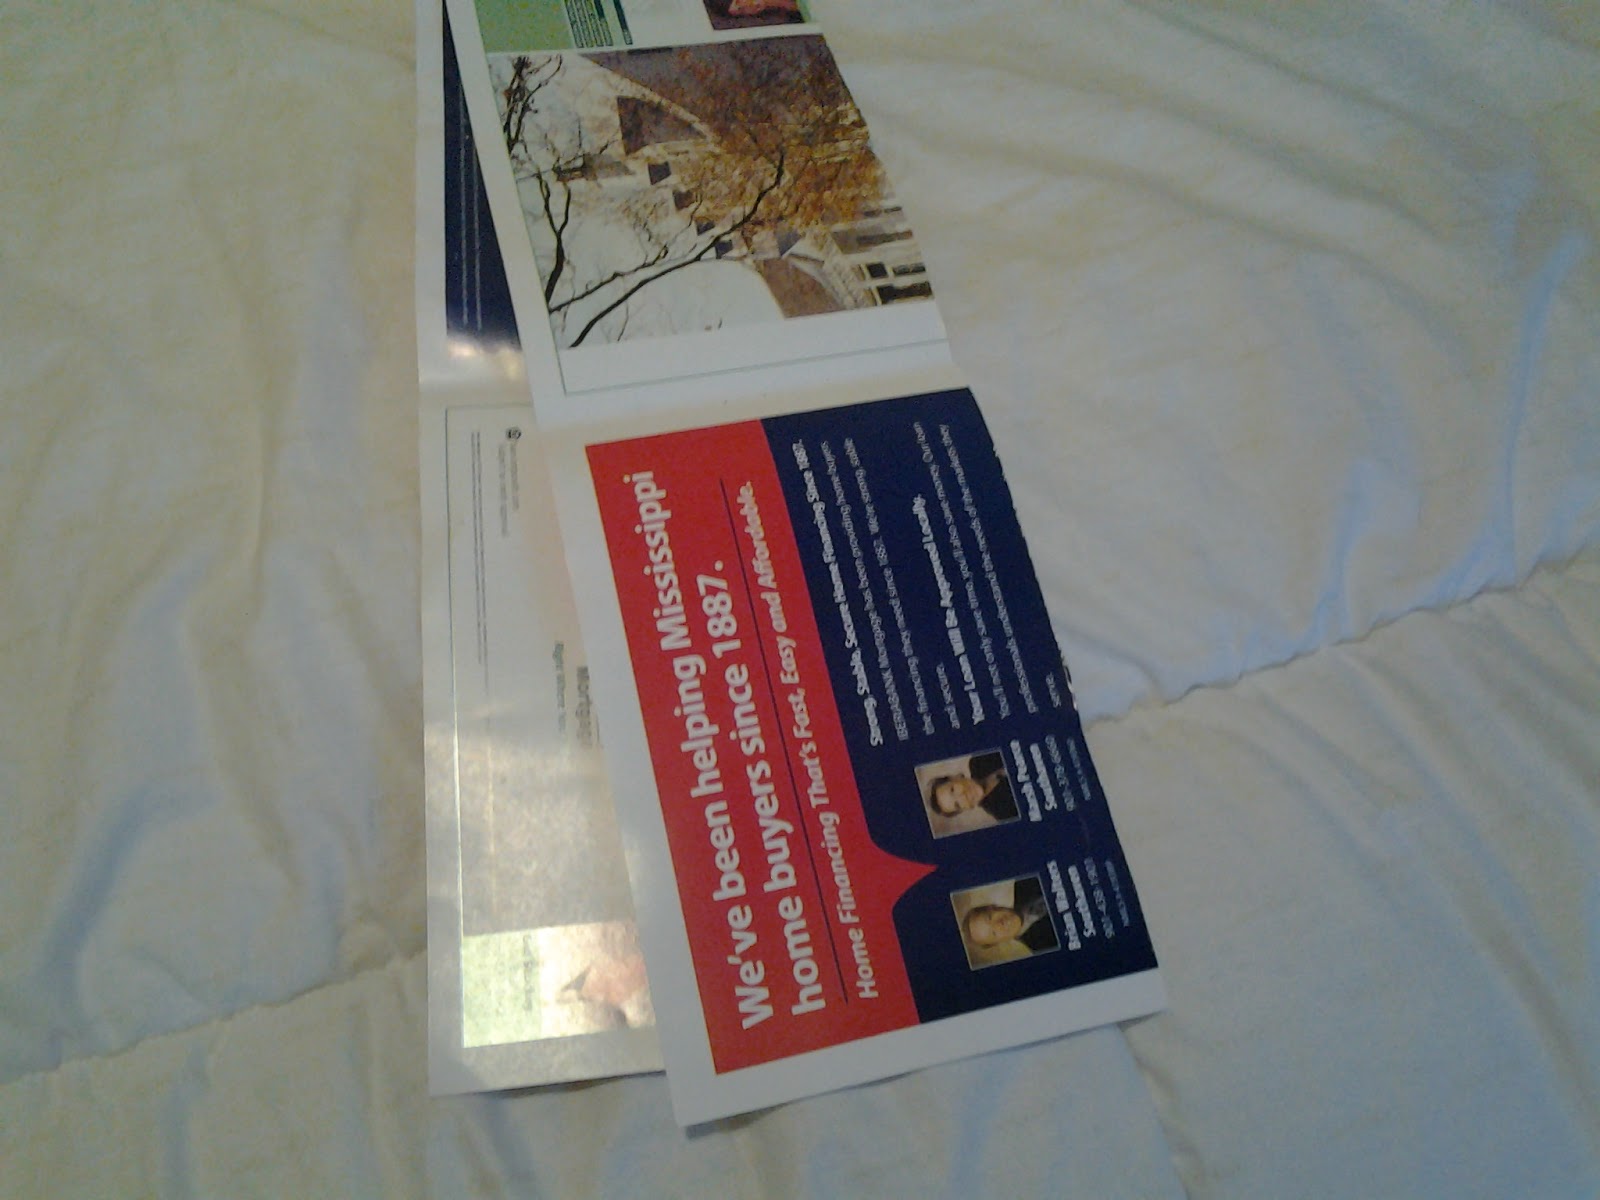
Select any magazine and cut strips of paper into 2-3'' width. You will need a lot of these strips.
Step 2:
Using a tooth pick or any similar item start rolling the paper from one of the corner.
Step 3:
This is how I was rolling the paper from the corner. When you are almost done apply glue to finish off. Now you have a stiff stick made out of paper.
Step 4:
Now take the stiff paper stick and flatten it by pressing against a flat surface, again using the tooth pick start rolling the flattened paper stick. Make sure to glue the end. Keep adding the paper sticks and roll the flattened paper stick to make a giant paper spiral. it depends upon how big you want to be the base of your waste bin. Do not forget to glue the ends every time, if you want you can glue in between the roll. It will give better structural support to the spiral base.
Step 5:
Now take any cardboard material of round shape matching the size of the spiral base. Glue the base and spiral base. This will be the base for the basket.
Step 6:
Start adding the paper sticks vertically side by side to the base. If you want you can cut the edges of the paper stick, I just left the edges for different look. Glue gun is advised to glue the paper sticks, it will give extra support for all the parts.
Step 7:
Once all the paper sticks are glued to the circumference, add a rim around the glued sticks. The rim glued over the vertical sticks will add extra support.
Step 8:
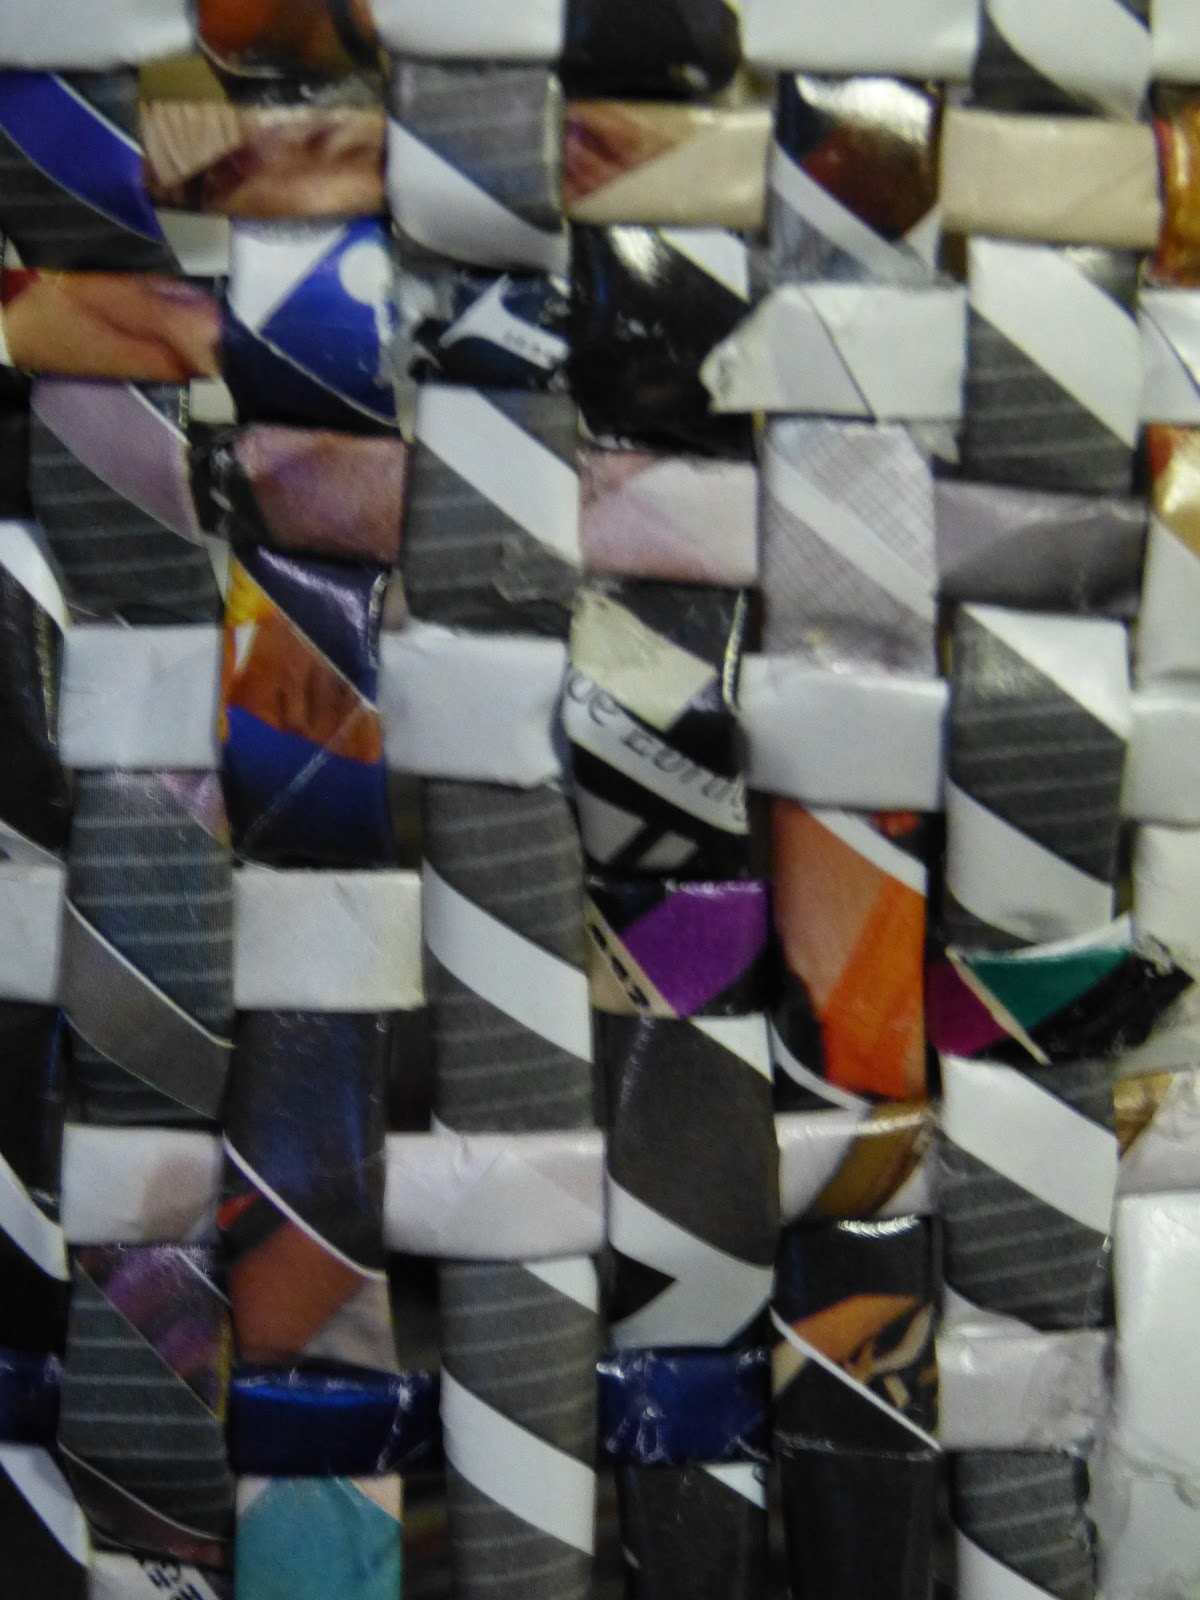
Now comes the time consuming part of the project. Start adding horizontal paper sticks in a pattern that looks like weaved basket. I have glued the intersections with glue gun for better firmness.
A Closer Look:
Step 9:
Now, the remaining portion of the vertical papers should be tucked away inside/outside in a way that looks like there are no loose ends. Glued the ends.
Step 10:
For the lid make small paper spirals and attach them to a cardborad like shown below. You can come up with your own style for this :)
Step 11:
Now, think of a purpose to use your creation.
Enjoy and keep the creations flowing..!


0 comments:
Post a Comment